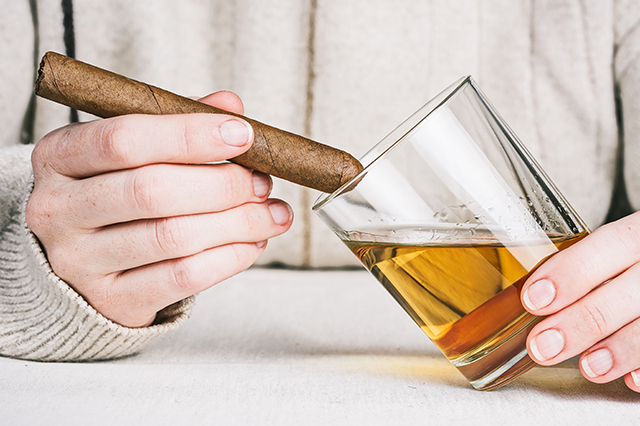
Over the years, I’ve used several different techniques to create homemade, infused premium cigars and I thought it would be fun to share them with you. Today, in part one of three, let’s start with one of the easiest methods to create homemade, infused cigars – making “infusing bags.”
Simply put, an “infusing bag” is an airtight bag that encloses a humidifying source, an infusing source, and cigars. And, the best thing about this method is that you most likely have all of the necessary tools right in your kitchen!
Here are the steps to follow to create your own, personally blended, infused premium cigars:
1. Begin with a relatively mild cigar until you are comfortable with how your infusing methods work. Depending on the agent and cigar chosen, the degree of flavoring absorbed by the cigar can differ and, as such, an infusing agent may taste differently on different cigars.
I prefer to use either a corona or robusto sized, mild bodied, US Connecticut wrapped cigar with a relatively steady flavor profile from beginning to end. Brands like Macanudo Café, 8-9-8 Collection, and the Montecristo White (if you feel like a higher end, infused premium cigar) are all excellent options to use. If you choose a larger cigar, keep in mind that more infusing agent will be required over a longer period of time to achieve the same results as with a smaller vitola.
2. Gather the needed supplies (the following makes 2 to 4 cigars in two flavors):
- Four cigars
- Two quart sized (or larger for really big cigars) Ziploc bags, heavy freezer type
- Two folding top plastic sandwich bags (the kind that weren’t cool in your lunch in grade school)
- One sheet of heavy duty paper towel (the more absorbent, the better!)
- Your cigars (I usually infuse no more than 4 per bag)
- Your infusing agents (alcohol based rum and vanilla cooking extracts in this case)
- A Sharpie for labeling your infusing bags
3. I recommend removing the bands from your cigars, carefully, of course. The paper can absorb some of the infusing agent, reducing its availability to your smokes. Label your infusing bags with the infusing agent used, the date of packaging, and brand of cigar used for future reference!
 Labeling the cigars (note bands removed)
4. For two to four cigars, cut one sheet of paper towel into quarters, one quarter to create a humidifier for each infusing bag and another to hold each infusing agent in each.
5. To make the humidifiers, take one of the quarters and fold it into a rectangle; folding it in half once, then into thirds. Soak the towel with distilled water thoroughly and squeeze out until wet, but not dripping. Tuck the towel into the corner of a fold top type baggie and fold the bag edge down three times neatly. Fold the bag in half one time horizontally to create a small humidifier. (See below)
Folding a baggie humidifier
6. Tuck a humidifier into the corner of each of your infusing bags. Tuck your cigars in the opposite corner. These bags dry out quickly during the first few weeks as the cigar work to achieve a balanced humidity level, so check them frequently. Once the humidity has balanced out, be careful not to “over water” the cigars as mold can develop.
 Infusing bags with humidifiers and cigars
7. Next, fold the remaining quarter sheets into small rectangles by folding them in half horizontally then into quarters. Using a small plate or bowl, soak the towels with your infusing agents until saturated. You may need to refresh the infusing agent once or twice to achieve the depth of flavor you prefer.

Infusing pads with extracts
8. Carefully lay the saturated pad on top of the humidifier in the bag. Pay particular attention to avoiding making contact between the infusing pad and the cigars or getting any liquid on the wrapper of the cigar as could stain the leaf or worse, cause splits, ruining your efforts.

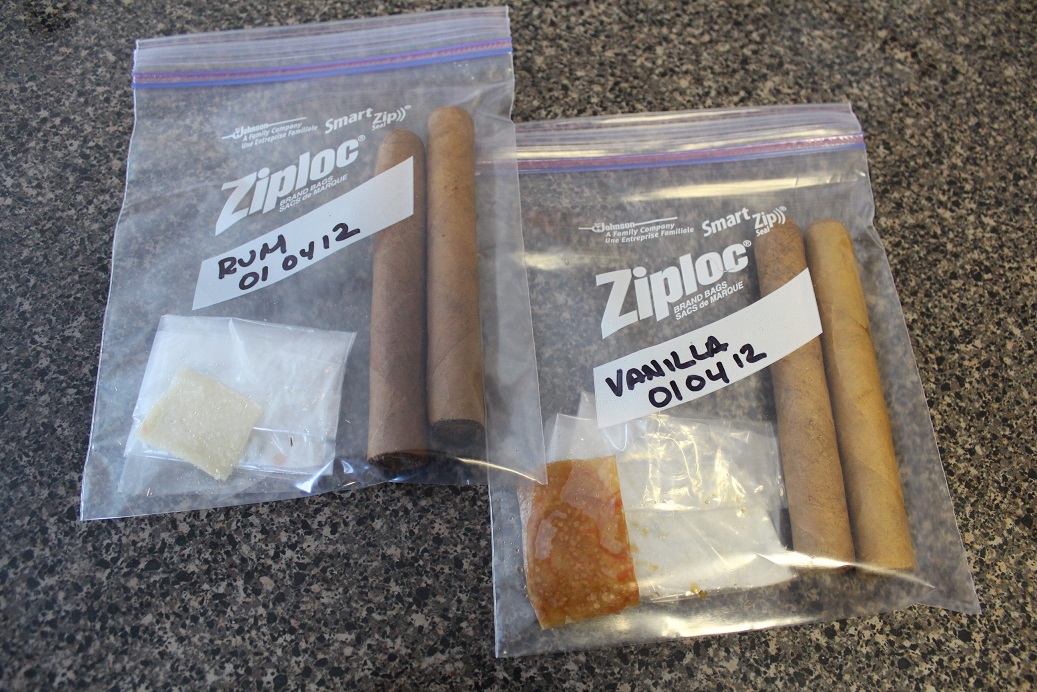
Completed infusing bags
9. Express the majority of the air from the infusing bags leaving a bit for the humidity and infusing agent to circulate around and over the cigars. Seal the tops securely and put your babies somewhere safe to rest. Lay the bags flat (as in photo above) to prevent liquid from traveling and ruining your cigars. You don’t have to store the infusing bags in a humidor as they are humidified themselves, but be sure to treat them carefully, like any other cigars. Store them at the right temperature (around 70 deg. F), keep them out of direct sunlight, the usual mantra…
I tend to let my cigars infused using this method rest for a period of about least two months, longer if I can resist. I recommend “dry boxing” the smokes for a few days before smoking to allow the humidity within the cigar a chance to get friendly with the humidity in the real world.
The infusions you can create using this method are limited only by your imagination and the ingredients you choose to use. There are many exotic and gourmet extracts that can be found anywhere from your local grocery store to online retailers.
If you try this, please come back and let me know what you used and how things turned out. I can’t wait to hear!
Author: Marty Klausmeier


